
How to make a crap video synth for $10
Here is the original 2016 tutorial, based on hacking a cheap VGA test signal generator.
…how to build a DIY video synthesizer on the cheap
*Disclaimer: Do not read any further, and especially do not attempt any of the procedures described below.
Didn’t listen, ok, you asked for it.
The CHA/V (CHEAP, HACKY, A/V) is a DIY, audiovisual, A/V, video synthesizer. If you are new to video synths, fasten your seat belt. You just opened up a huge can of wormholes.
Design Goals:
- dirt cheap (potentially under $10)
- quick & easy to make (three solder joints if you want, maybe even just alligator clips)
- expandable/customizable/usable as a functional block in a larger system
- mass-produced parts
- no computer, arduino, micro-controller, or programming required
it does this stuff:


Here is how much you need to know about video to make this thing:
Who is this for?
- “I want my modular synth to make purdy-pitchers while I play it”
- “I like making DIY audio circuits, like the Atari Punk Console. Is there something like that for video?”
- “I’m interested in DIY video devices or circuit-bending.”
- “I’ve heard of a soldering iron, and I am willing to do some online research about reading a schematic, learning to solder, and I’m not afraid to maybe break a few of these, burn my fingers, and/or receive a minor electrical shock.”
The CHA/V is not:
- the “correct” way to synthesize video
- made from quality parts
- capable of precision
- well-behaved
The CHA/V is:
- lots of fun
- a
goodeasy way to get started in video synthesis
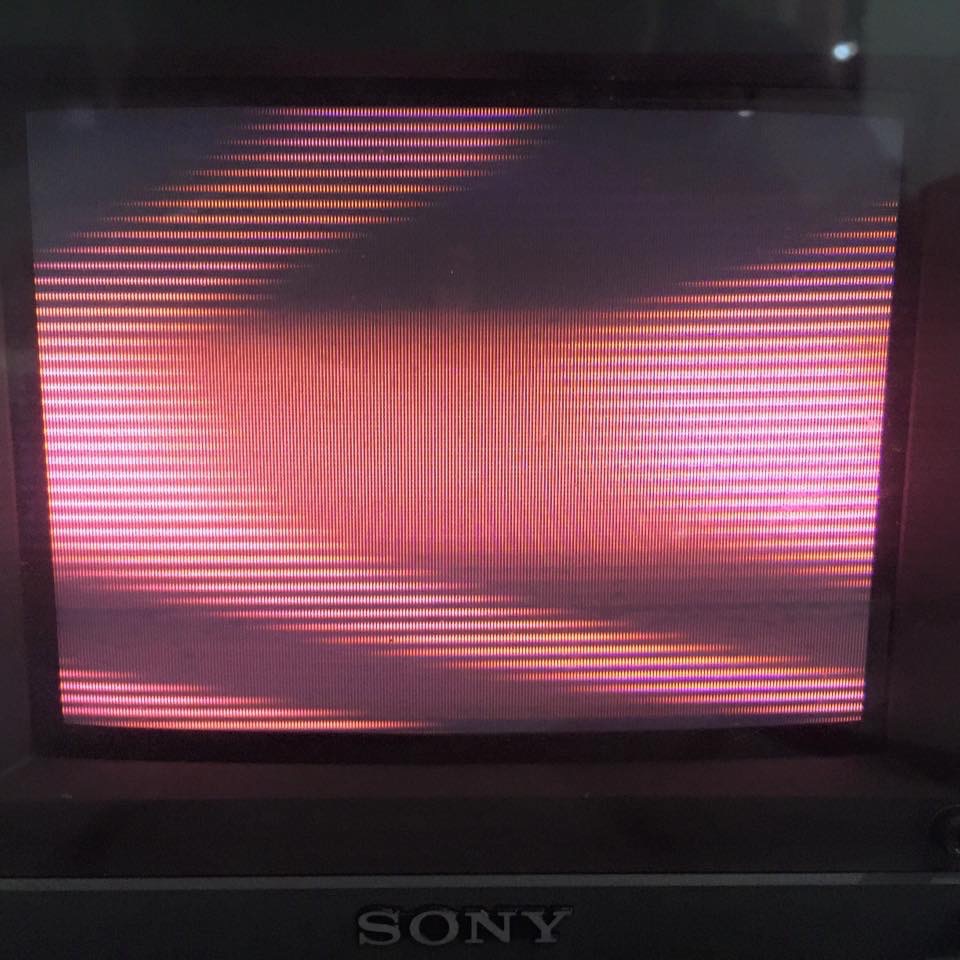
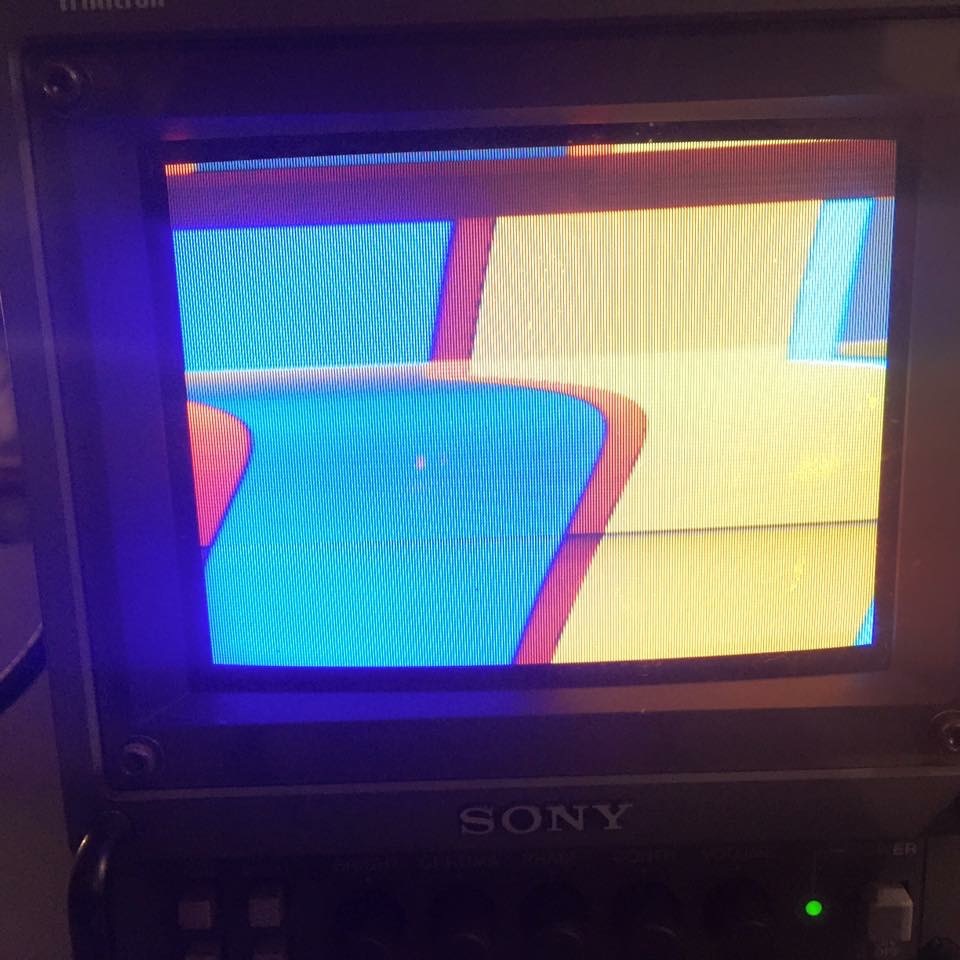
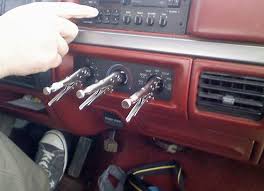
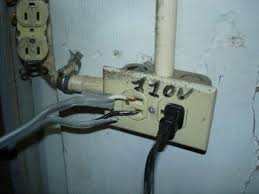
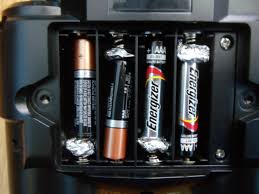
These pictures should give you an idea of what you’re getting into:


If your CHA/V overheats, can’t do what it did yesterday, keeps blue-screening your projector, won’t display stable video, etc. Yes, I’m not surprised, remember: it’s (C)heap, and (H)acky. If you want something good, I would highly recommend that you buy some LZX Cadet and Castle modules, or a 3trinsRGB1c, which are both phenomenal DIY approaches to video synthesis. If you have $10 and a free afternoon, build a CHA/V!
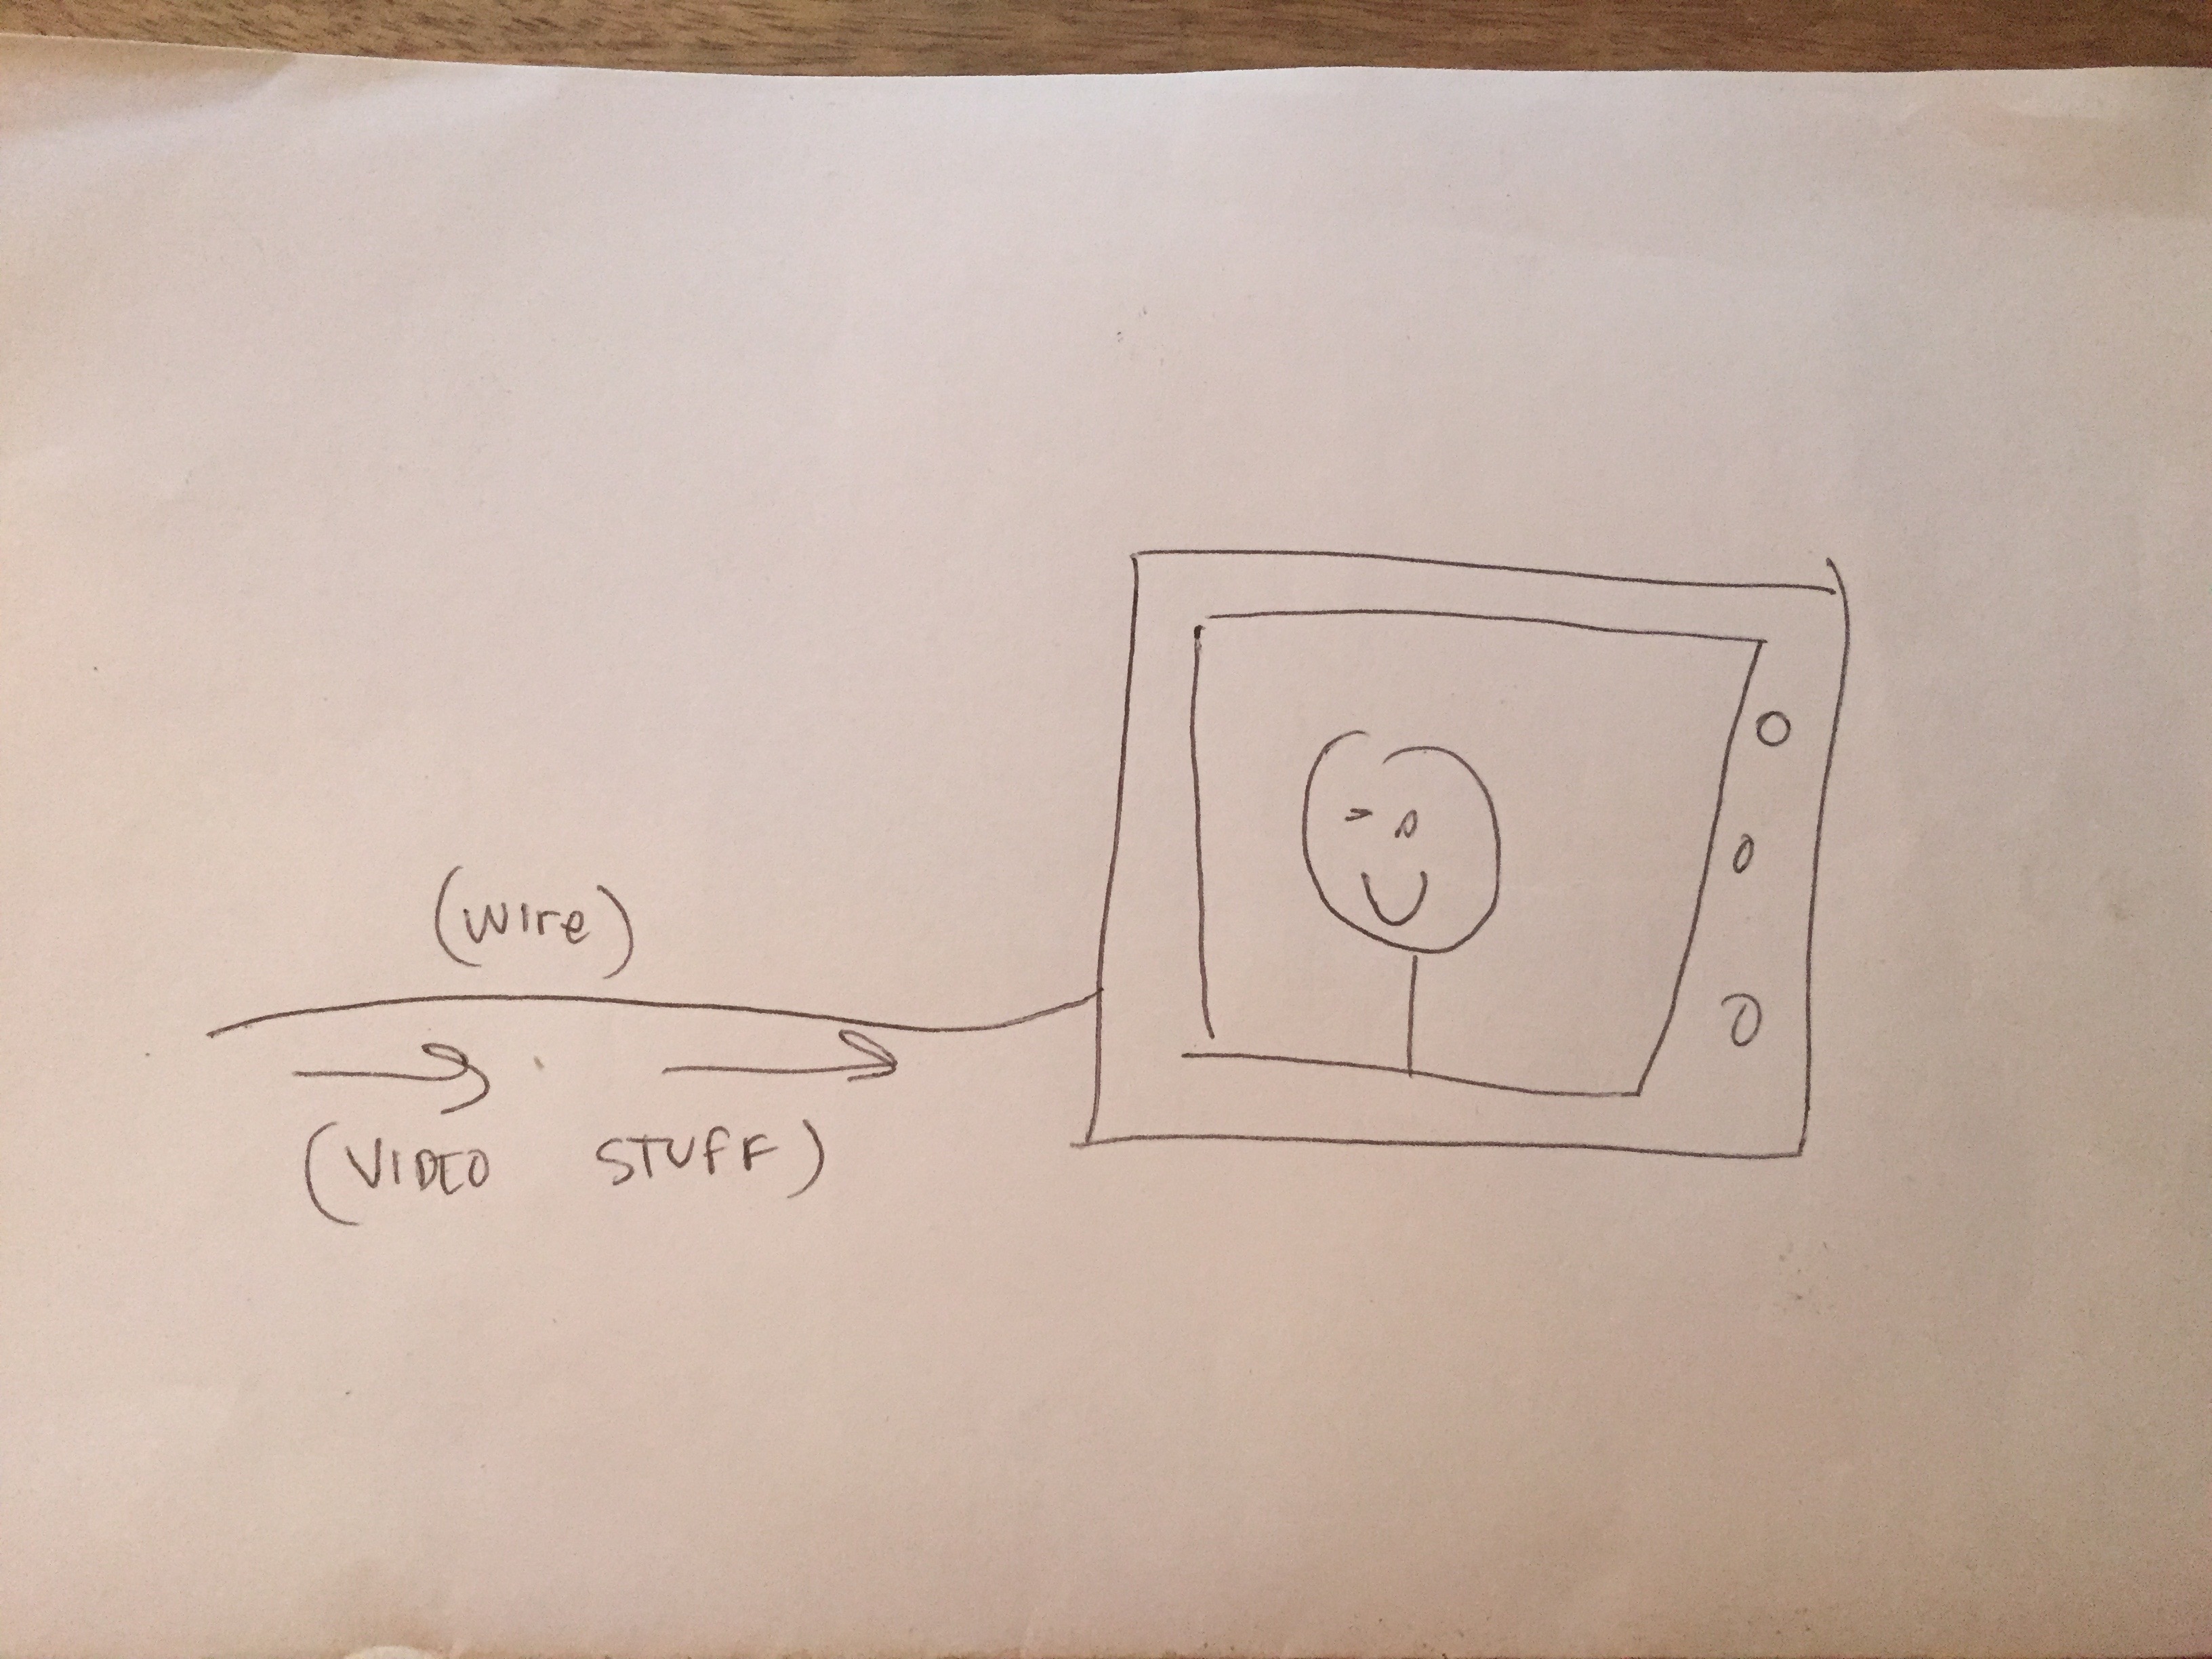
What are we doing again?
We’re going to turn a <$5 VGA test signal generator and a 40106 oscillator into an A/V synthesizer. We’ll modify the test signal generator so that it can accept alien signals, and then feed it our new oscillators, other audio, video, and/or any combination of the above. It’s going to turn all the stuff we send it into different colored lines. Fun!
Step 1. Stuff you need (besides a soldering iron and some solder, smartass)
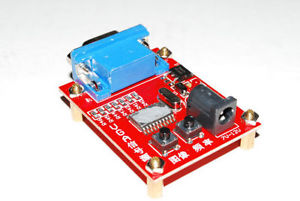
“VGA signal generator” eBay, do not pay more than $5
these come in a few flavors, and some look similar, but aren’t, so try some different ones if you want. I’ve had good luck with this one:
7v-12v DC power supply. 500mA is plenty, center positive. if this doesn’t make sense, here’s a good resource for learning basic electronics
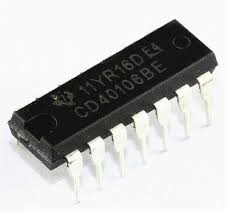
“40106 chip” (if you want some oscillators) less than $1. [even if you already own a modular synth, consider making some high-frequency square wave oscillators. they work nicely with this thing]
From Mouser, Radio Shack, Tayda, or wherever you want to buy electronics stuff: some capacitors, jacks, and enclosure, potentiometers, stranded wire, a little piece of strip board or a breadboard, etc.
Step 2:
below, the red, green, and blue wires are connected to the color-making input thingies, so connect your own wires in the same places I did, but just do a better job soldering them. In this case, the color of the wires are connected to the colors they make (I think), but otherwise the wire color does not make a difference.
Good job! You just made three color-making inputs. (R)ed, (G)reen, and (B)lue. (RGB)
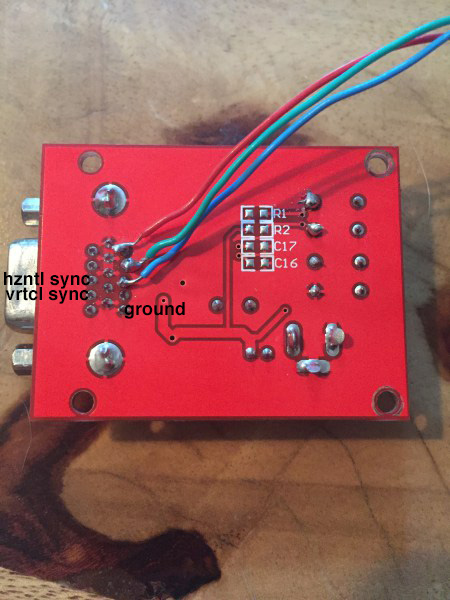
at this point, you could just connect some jacks to these wires and be done. don’t forget to ground the sleeves of your jacks to the CHA/V.
NOTE: if you think you’re special, you can connect the hsync or vsync pins directly to jacks, and patch one of them to the sync input of a VCO (VCO is nerd-talk for sound-maker thing). when a VCO (or anything else that can sync to a pulse) is synced to the output of one of those pins, the CHA/V will become hypnotized, and the patterns it makes with your synced thing will be stable. if you have no shame, you can go ahead and slap together your own DIY VCO with a sync input (I hear 4046 is a good choice). if none of this makes sense, you can ignore this note, and go back to your important job, healthy relationship, fulfilling life or whatever. without sync, the CHA/V will run free, happily misbehaving and creating disorder.
Step 3:
make some dead simple high-frequency oscillators with a 40106.
there are tons of designs for these oscillators online. this is the simplest design:
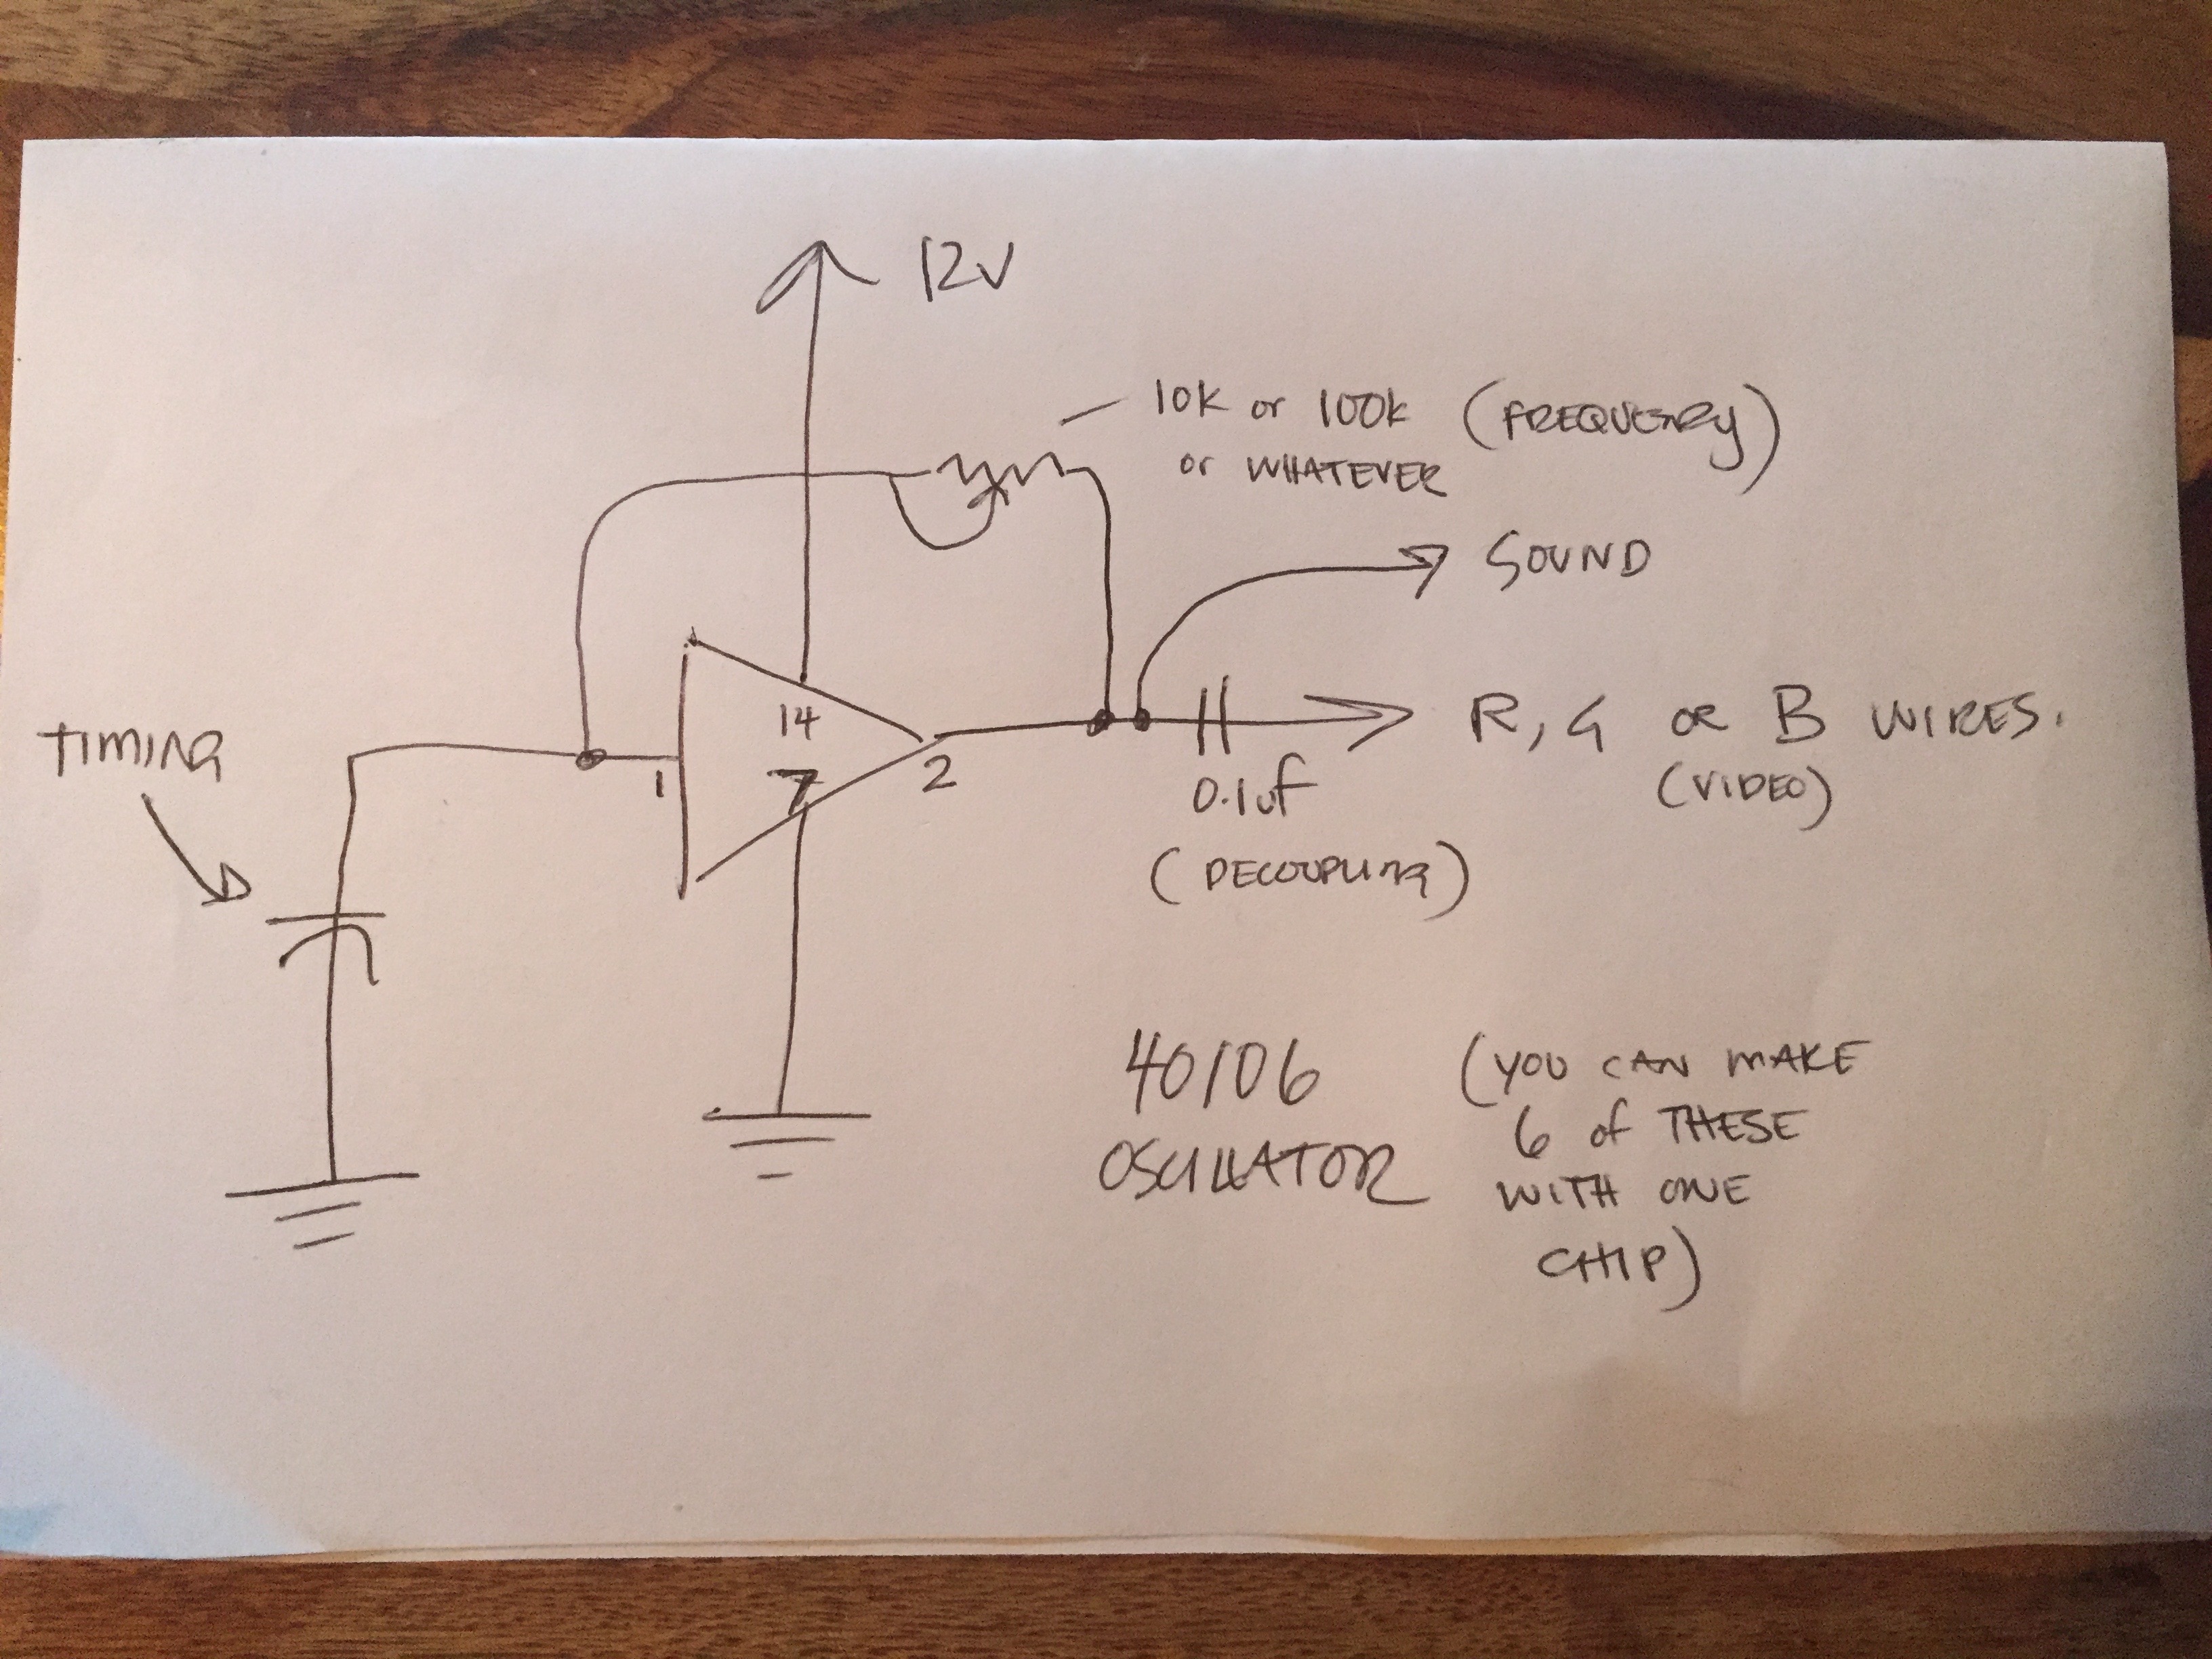
the idea with all of this, is that you experiment and design your own interface. that said, the most basic effective circuit you can make (and should try) is simultaneously sending a separate oscillator into each of the three color inputs, the RG&B. Mess with the frequency controls and have a grand ol’ time. Whee! Now kiss your life goodbye, because you have the sickness. Sorry. I warned you not to read any of this. People never listen.
more stuff to try:
- experiment with different coupling cap values to get different video effects, but 0.1uF seems to be a good starting point.
- implement low-budget sync by connecting the 40106 oscillator’s timing capacitor to hsync or vsync instead of ground. As a starting point, I’d recommend getting a spdt toggle switch and connecting the negative leg of the timing cap to the center pin of the switch, ground on one side of the switch, and vsync to the other side. The switch will toggle back and forth between stable (synced) and scrolling (free-running) patterns.
- experiment with different timing cap values. 0.1, 1, 10, and 100 nF (101, 102, 103, 104) are each pretty good. the lower the capacitor value, the higher-pitched the oscillator will be. frequencies that exceed 20khz (above human hearing) still work nicely for video. low frequencies will make horizontal lines, high frequencies will make diagonal and vertical lines, fold over themselves and make complex patterns and shapes.
- experiment with mixing the oscillator outputs with each other, multiple colors at the same time, mixing the colors with a potentiometer, a video signal, an audio signal, put some diodes, LDRs, or anything else in the signal path, etc.
- remember, you can connect the oscillator outputs to an audio amplifier at the same time they’re generating video and then they’ll make sound too.
- look up Karl Klomp’s “dirty mixer” and incorporate some of those in here.
- rename this thing lazerlord or something and charge $300 for it.
[keep in mind, you are turning the video signal into garbage, and in many cases, whatever display you’re connected to will blue screen. lower the volume on whatever your inputs are if you keep crashing your monitor. you can also use a time base corrector, which will resolve all that.]
Step 4:
ohhhh, the little tactile buttons? They control the background color and output resolution. You can glitch them. R1 & R2 will cause glitches if you pulse them with the oscillators or something else. If you wanted to get really fancy, you could trigger them remotely with a FET or a relay. The black background seems to work the best though.
Ok, that’s it.
Don’t forget: to ground your oscillator to the test signal generator. You can ground and power your oscillator right from the power pins of the test signal generator — works fine.
I would recommend not skipping the coupling capacitors if you are new to electronics. They are blocking DC bias which is important in certain circumstances with the 40106 oscillator (like, you may not see anything without them). If you know what all that means, and would prefer to skip them anyway, go for it. DC bias can also be interesting in video synthesis.
A note on technical support: You can do it!
Note: Don’t be a jerk and take advantage of a small DIY project. This information may not be used to rip people off in whatever crapitalist scheme you’ve cooked up. The information provided here is meant for personal use only, using anything here commercially is strictly prohibited.
Here’s the legal mumbo-jumbo:
This work is licensed under a Creative Commons Attribution-NonCommercial-ShareAlike 4.0 International License.

